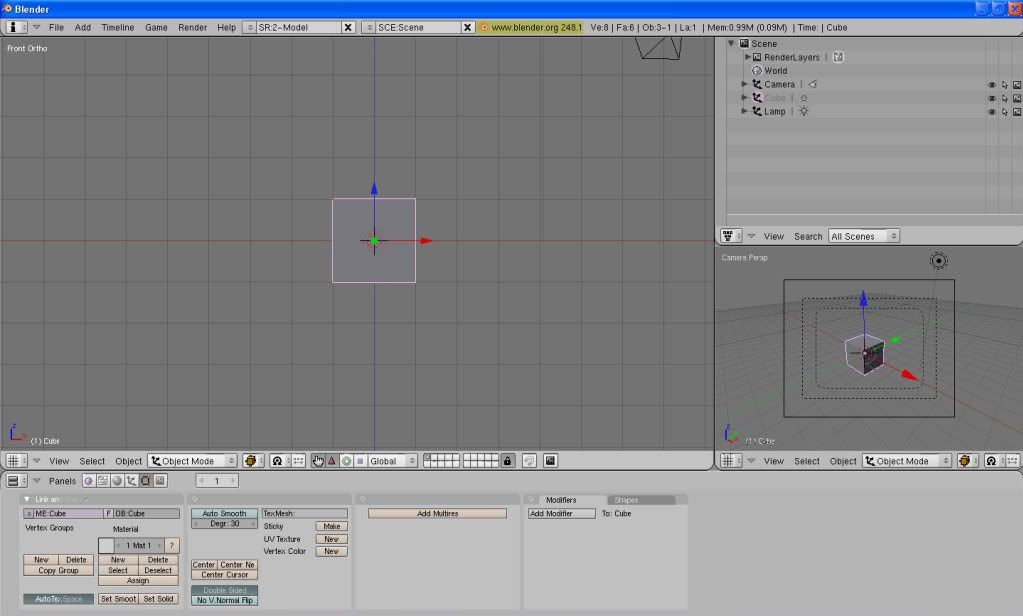
CINEMA 4D Has a demo version that can do everything except save, so its great for projects that wont take a long time: http://www.maxon.net/en/downloads/demo-version/demoform-nl-add/choose/cinema-4d-demos.html
Blender 100% free and always will be, a bit harder to use but you can get used to it  http://www.blender.org/
Note: If someone is willing to do one of these for Photoshop it will be stickied. PLEASE KNOW YOUR STUFF.
Cinema 4D basics by Archer
[hr]
Well seeing as some people here are getting into c4d here is a basic tutorial for absolute beginners.
First thing I want to point out is a few “must use” tools.
The tools I use for every project I do is, point tool, edge tool, and polygon tool. The are on the left side tool bar.
![]()
You want to use these tools for object modeling, basically that means instead of making a ton of primitives and putting them on top of each other for a shape, you take one primitive and use those three tools I mentioned above to extrude for the shape you want. Make sure you make your object editable by hitting C or clicking the “Make Object Editable” button.
![]()
Next, what good is knowing what to do with the polygon, point,and edge tool if you don’t know how to select them?
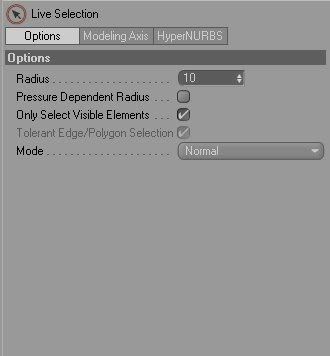
For anything you should need to select, use the Live selection tool.
![]()
Depending on what your selecting, either check or un check " Only select visible elements". Doing so is useful for selecting points or polygons without accidentally selecting polygons you can’t see. You can adjust your radius for bigger or smaller selection range.
Third, you should be familiar with the Move, Scale, and Rotate tool.
![]()
The Scale tool lets you easily re size whatever it is you want re sized.
The Rotate tool lets you rotate whatever you want rotated.
When using one of these tools, make sure you have the object tool selected if you want to effect the whole object and not just the selected polygons. The object tool looks like this.

I wont really go into NURBS other then that you should use hyperNURBS to smooth out your models.
![]()
For object modeling you should use really only have to use the Bevel and the Extrude tool.
![]()
Use the Extrude tool to extrude polygons or edges outward or inward, and the Bevel tool to smooth out edges.
For rendering, a basic scene is a must. You can use STH’s Studio setup tutorial if you want through this link.
I do not use Studio setups much because I have my own little way of making a scene which I like. I create a floor first.
![]()
Next I create a light.
![]()
Go into the shadow tab on the light and turn Shadow Maps (Soft) on and if you want change density.
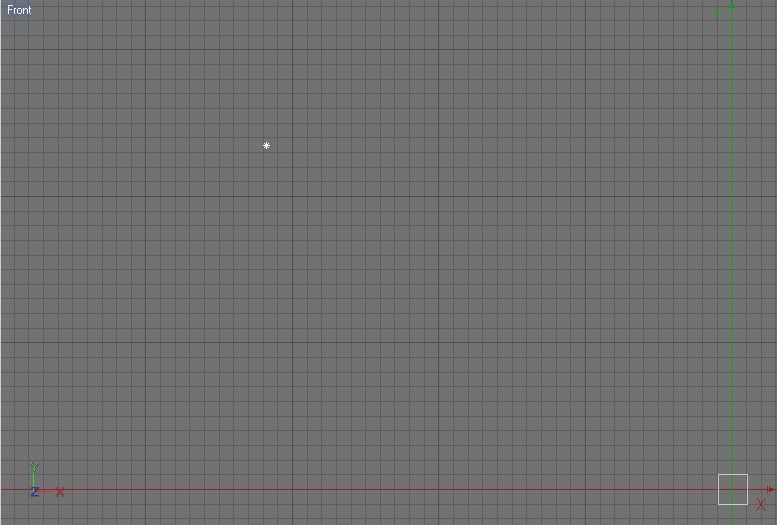
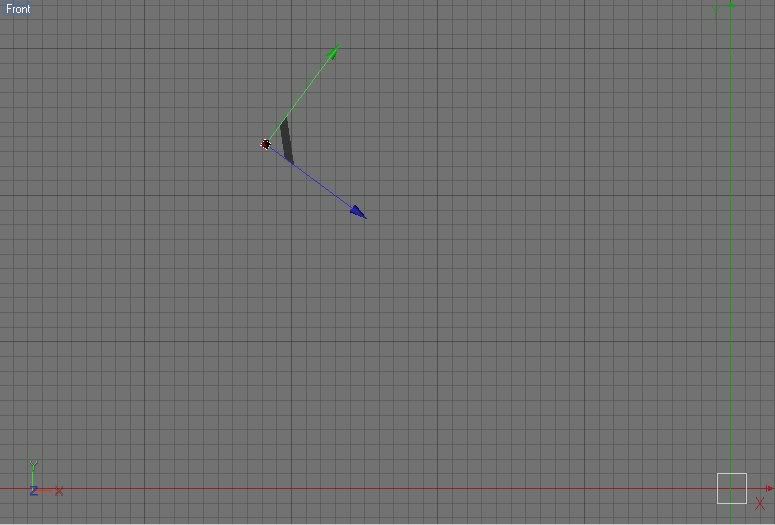
Then I go to my front view and zoom out so your model is small and move it to the bottom right corner, and drag your light to the top left or around there.
Now right click your light and go to Cinema 4D tags and choose a target tag.
Drag your model into the Target Object field and the light will point to your object.
Now, you just have to go back into perspective view and move your light around a bit more till you get it where you like.
I saw that setup in a tutorial and edited it a bit for my taste.
I will not go into materials because STH made a tutorial for it already.
Since this tutorial is for complete beginners really, I will not go any further. If there is something anyone would like me to cover that I didn’t, just ask in the thread. Hopefully people wont give up so fast now.
Blender basics by Dylan_0789
[hr]
Well, here it is, like i said: The Basics of Blender
NOTEThis is NOT intended to spoon feed you. this ‘tutorial’ will be showing you the basic hotkeys needed to make a model. this is not the well-known trace- method.
How to Use the Mouse:
LMB: Left mouse button: not alot of use. i only use this in tool bars.
MMB: Middle Mouse Button: use this to scroll in and out, and move the view.
RMB: This is the most important, use LMB to select EVERYTHING
How To Zoom/Pan with thew mouse: MMB
- Hold MMB to rotate your view.
- CTRL+MMB: zoom, its easier to just scroll.
- SHIFT+MMB: This ones VERY useful. it pans the view whichever way(similar to the ‘move’ option in metas View panel)
NumPad
What is this used for? its a quick way to with Views. i use this more than anything.
0. Camera View(used to view what is seen in the render.
- Front View
- Rotate view(down) 15 degrees each time.
- Side View(Right)
- Rotate view (Left) 15 degrees
- Toggle view options: Orthographic, Perspective (its easier to model in Orthographic.)
- Rotate View(Right) 15 Degrees
- Top View
- Rotate View(up) 15 Degrees.
- Doesn’t do anything(That I know of)
So now you know how to move the view around. right? Now ill show you a good way to set the view up.
I find it best to divide the screen into 3.
Heres what you do:
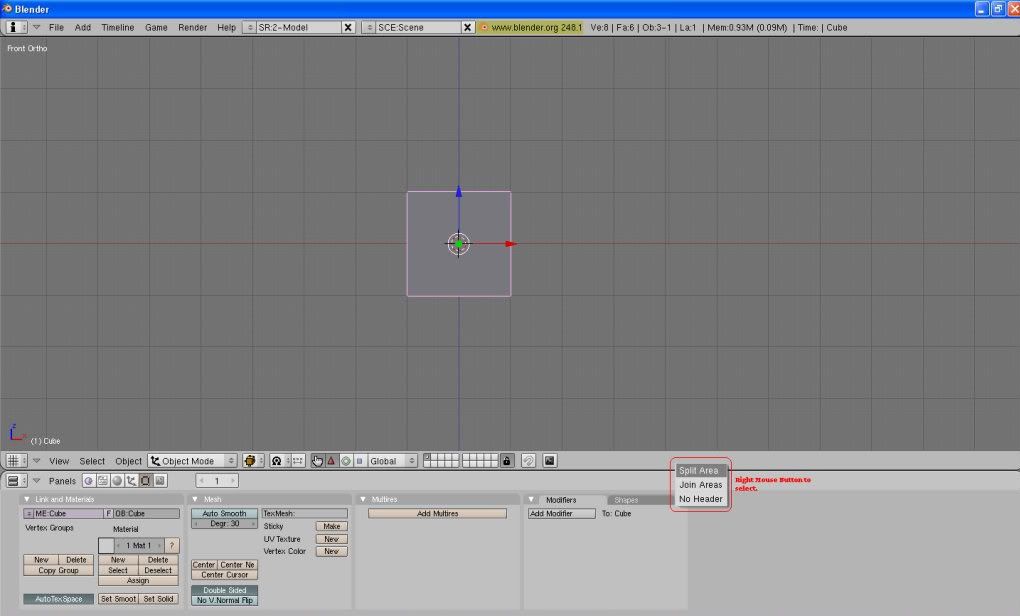
Click(RMB) the solid black line between the panels and the screen. this comes up:
Now, click “Split” where you feel is good. (i prefer 1/3 of the screen to be for the split area)
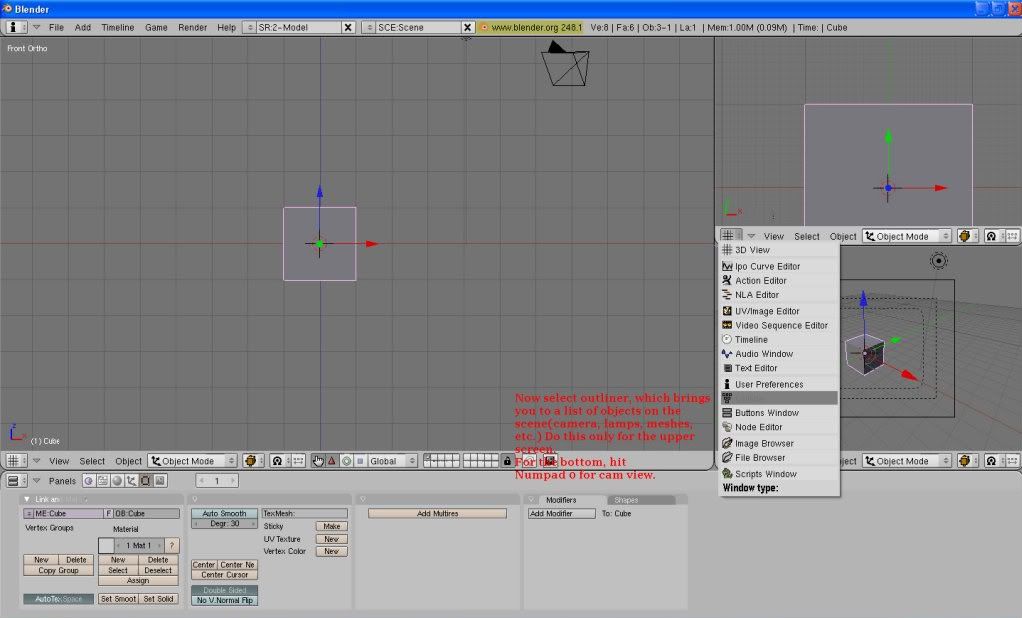
Now, do the same again but split your new view up. Make the bottom screen Camview (num 0). and the top one Outliner
So now your view looks like this:
It might seem pointless, but trust me, its useful.
Useful Tools + how to use them
[F1] Open File
[F2] Save File
[F3] Image Render - i never have used this before
[F4] Logic Panel - dont bother with it
[F5] Shading Panel - materials, shaders, transparency, reflection
[F6] Texture Panel
[F7] Object Panel - i never use this.
[F8] World Panel - You’ll only need this for changing render background color and adding stars.
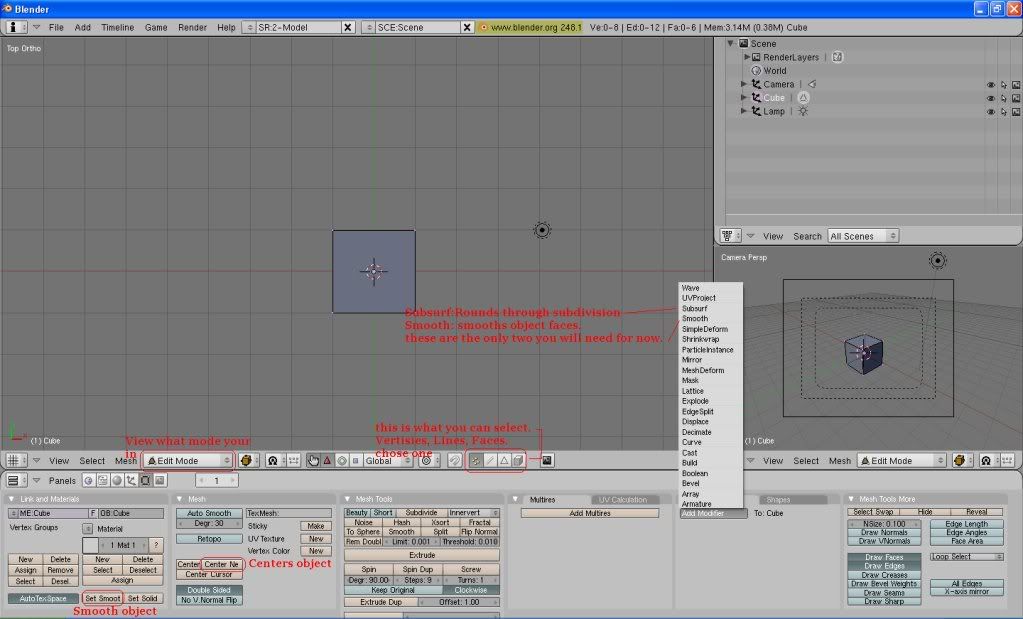
[F9] Editing Panel - This is VERY useful, use this for MANY Things[Subsurf, Smooth, Subdivide selected faces, etc]
[F10] Render Settings - Resolution, animation properties
[F11] Quick Render - brings up your last render.
[F12] Render - it renders from your camera view.
if there is a * it means object mode.
if there is a & it means edit mode.
if there is neither, it means both
[CTRL][R] *
- Loop cut
–cuts your ubject evenly
–use MMB Scroll to decide how many cuts
[Tab]
VERY IMPORTANT use tab to switch from object to Edit mode.
-What is edit mode?
–Edit mode is where you do all your editing.
-What is object mode?
–In object mode, you simply move your objects around. its used to view where everythings placed.
–move around ALL objects here, not in edit mode
[E]*
-Extrude
–Extrudes selected faces. MMB to chose which way it extrudes.
[R]
-Rotate
–MMB to chose which way it rotates, but i prefer to just use Top view, side, and front view. DO NOT rotatre when your views at an angle, it rotates in that angle.
[ S]
-Scale
–MMB to chose which direction it scales in.
[G]
-Grab/Move
–Moves object, you can also use the red, green, and blue arrows. once again MMB to chose direction.
[SHIFT][P]
-Preview
–Shows you what it looks like rendered(only shows area in the box)
[P]*
-Separate
–Separates selected faces into a new object.
[Z]
-Toggles faces between Wire Frame, and Solid mode.
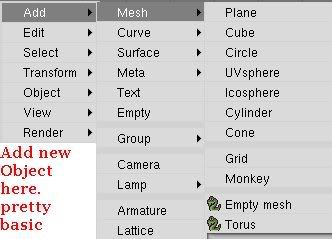
[SpaceBar] or [SHIFT][A]
-Adds a new object.
Well, now ill show you the [F9] Toolbar(editing panel)
as i said before, this panel is VERY important and used more than anything.
There you go. theres the basics of blender. i know, the tutorials not amazing and i dont spoon feed you how to make a model. i find you learn best experimenting.

