
Difficulty: 3/10
Requirements:
[ul][li]Basic Photoshop Knowledge[/li]
[li]Any version of Photoshop[/li][/ul]
You are also going to need a few things before we start:
[ul][li]A background which can be downloaded here[/li]
[li]The Coca-Cola font which can be downloadedhere[/li][/ul]
ALSO YOU MUST KNOW
Unlike all my other previous tutorials, I will not be adding in the hot keys that will be used in this effect. Hence why I mentioned that you will need basic Photoshop knowledge prior to this tutorial.
Let’s get started!
[center][size=36pt]Coco-Cola Text Effect Signature[/size][/center]
Let’s create a new “drawing” canvas. The dimensions I will be using are 850x200 Pixels with a resolution of 72 Pixels/Inch

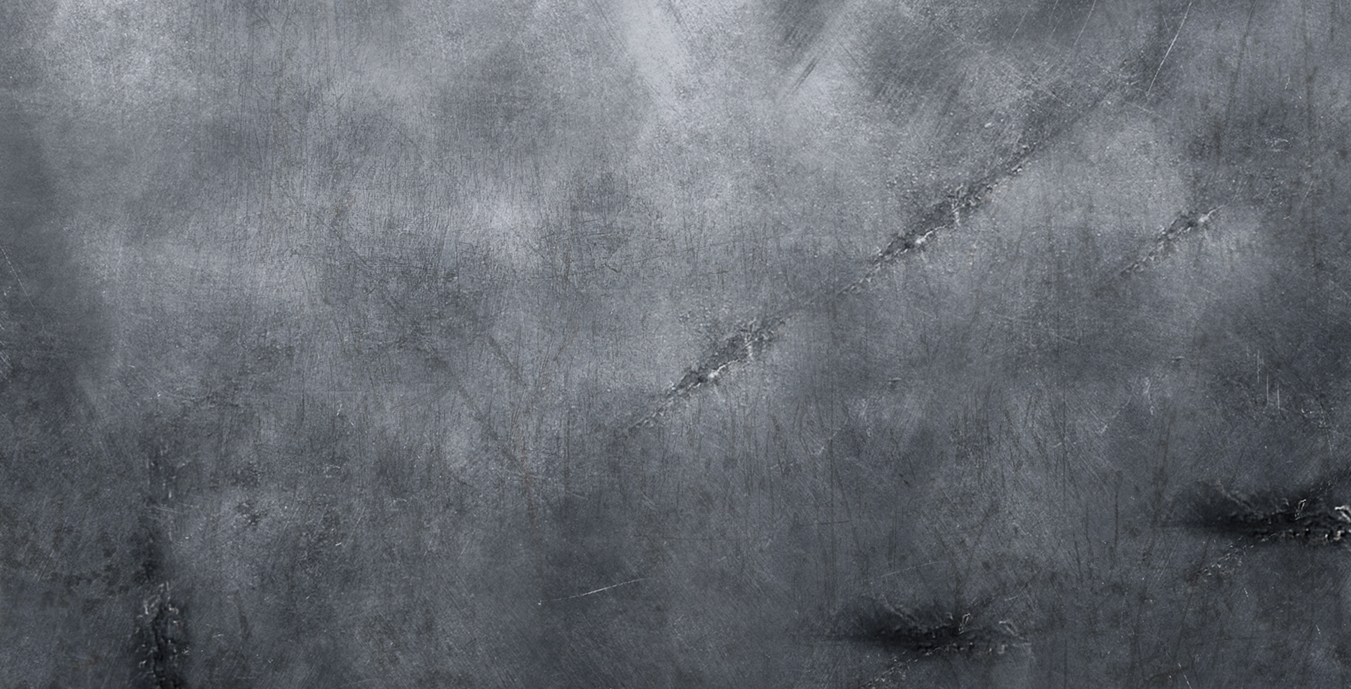
Next we are going to open the Scratched-Metal Texture and place it onto the canvas however you prefer it.

Now we are going to change out Background Color to the following color code #fe001a and use this color on the background layer underneath the Scratched-Metal Texture layer
Next we will mess with the Metal-Texture layers settings:
Blend Mode:Pin Light
Opacity:67%
Fill:45%
NOTE: Be sure that the Metal-Texture Layer is above the Background Layer


Now we’re going to add our text. You can use any font you like but in this tutorial we will be using the Loki Cola Regular Font. Place your text on the canvas however you prefer. I like mine a little bigger, taking up most of the canvas. Your font cant be any color, we will be changing this later, however make sure that it is just visible on the canvas.
NOTE: You can use CTRL+A and the Auto Select tool to center your text perfectly

Okay, now lets add some layer effects to the text layer. First off Rasterize The layer. We’re going to add a Bevel & Emboss First. You can copy these settings.

Now we’re going to add a bit of texture to the Bevel.

NOTE: Incase you are wondering what Texture I’m using, It is under the Artist Surfaces Preset!

The last layer effect that we are going to add in is the Gradient Overlay

And the colors I’m using in the gradient are:
#ffffff - 9f9b9b

We’re almost finished now! We’re going to take a 0% Hardness brush of whatever size you prefer, on a NEW LAYER, and over the center on each part of the text, put a WHITE dab, like so.
NOTE: This is different for every text. So don’t copy me exactly, well… you can’t. 
NOTE: You can adjust the fill to 77%, or whatever you feel necessary.

And for the last step, we are going to click on the Red Background layer we created, go to Filter > Render > Lens Flare This part is really however you feel would look nice. This is mine for reference if you can’t decide.

And for the final product!

 Good job!